How to Repair a USB Cable: A Step-by-Step Guide
USB cables are essential for connecting and charging devices, but they wear out over time. Knowing the signs of a faulty cable can help prevent unexpected failures. This blog explains how to identify and repair USB cables to ensure they function properly. We also provide maintenance tips to extend the life of your cable and discuss when it’s more practical to replace it rather than repair it. Stay informed to keep your tech in top shape.
What are the signs of a faulty USB cable?
A faulty USB cable can be identified by several signs, such as intermittent connectivity, visible physical damage (such as frayed or bent connectors), and slow charging times.
Data transfer issues, such as file corruption or failed transfers, can also indicate a problem. If your device isn’t recognized by your computer or charger, the cable may be the problem. Loose connections or complete lack of response (including the inability to charge or transfer data) are other signs of a problem.
In addition, if the cable or connected device overheats, it could indicate an internal problem. If you notice any of these signs, it’s best to replace the cable to avoid further issues.
How to Repair a USB Cable?
A damaged USB cable doesn’t necessarily mean you need to rush to the electronics store to replace it. With just a few tools and some basic USB cable repair knowledge, you can repair your USB cable and make it work like new again.
Required Tools and Materials
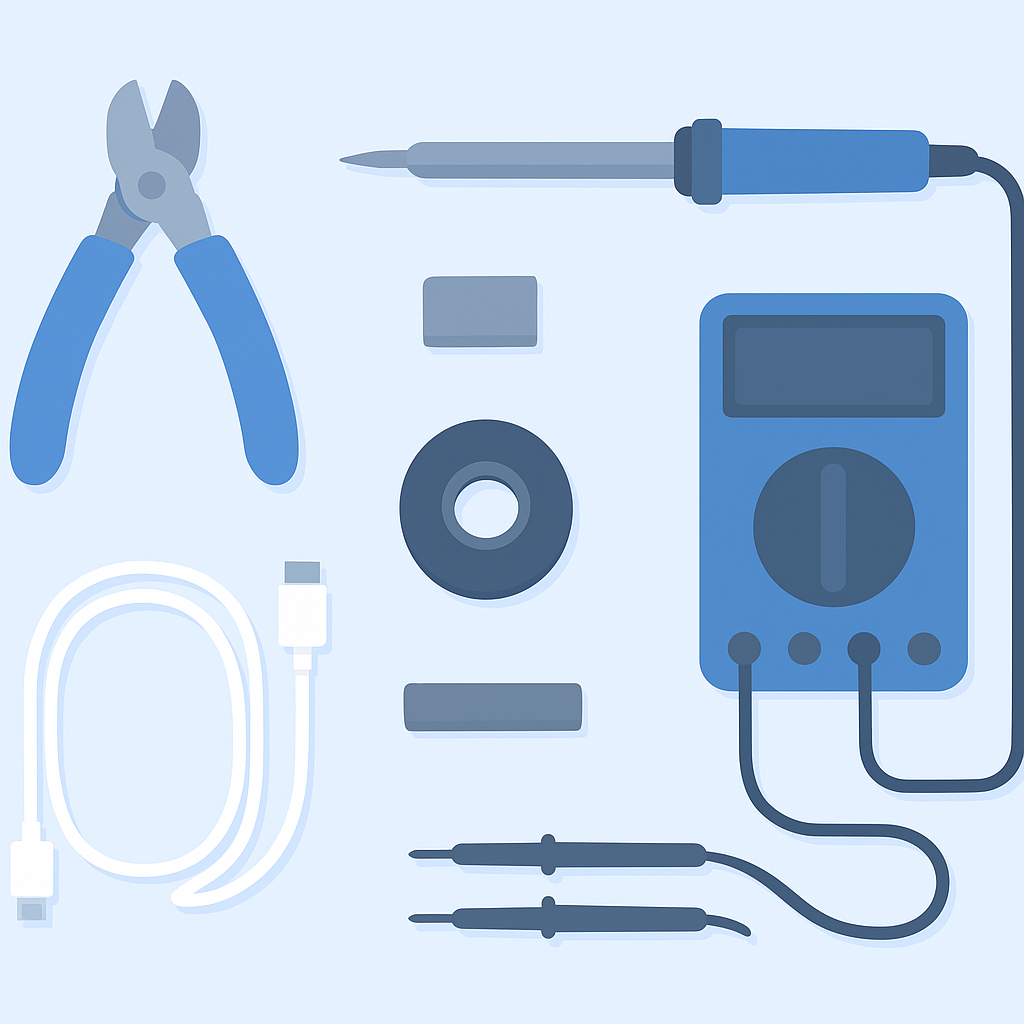
Before you begin repairing a USB cable, gather the following tools and materials to ensure a clean, reliable result.
Wire cutters/strippers
For removing damaged sections of the cable and cleanly stripping insulation.
Soldering iron & solder
For reconnecting wires securely to restore conductivity.
Heat shrink tubing
Protects and insulates the repaired section for durability.
Multimeter
For continuity testing and verifying a successful repair.
Electrical tape
Adds extra insulation and strain relief where needed.
Secondary tools
A third-hand tool, clips, or a stand to hold the cable steady.
USB Cable Repair — Step-by-Step Guide
Identify the Damage
Cut and Strip the Cable
Prepare the Wires
Slide on Heat Shrink Tubing
Solder the Wires
Insulate the Wires
Apply Heat Shrink Tubing
Test the Cable
Final Insulation
Final Function Test
Practical Tips for Maintaining USB Cables
Properly maintaining USB cables ensures their longevity and reliable performance. Here are some important tips to help you keep them in good condition.
1.Avoid Sharp Bends
Avoid bending USB cables at sharp angles. Sharp bends can damage internal wiring, leading to connection problems or even complete damage. When positioning cables, ensure that bends are gentle and smooth.
2.Use Cable Protectors
Invest in cable protectors or strain relief devices. These small accessories can be placed on the ends of cables to prevent wear and tear and reduce stress on the connectors.
3.Store Properly
Store cables properly when not in use. Avoid over-tightening cables, which can cause internal damage. Use loose coils and secure with Velcro or cable organizers.
4.Keep Cables Clean
Dust and debris easily accumulate on cables, especially connectors. Keep them clean by wiping them regularly with a soft, dry cloth. For connectors, use a small brush or compressed air to remove any dust or dirt.
5.Unplug the power cord carefully
When unplugging a USB cable, always pull on the plug, not the cable itself. Pulling on the cable can weaken the connection between the cable and the plug, leading to long-term cable damage.
6.Use High-Quality Cables
Invest in high-quality USB cables for durability and reliable performance. Cheap cables can wear out quickly and fail to provide consistent power. Consider Cable-c new Nylon USB-C to USB-C 100W Cable, which features reinforced connectors, thicker insulation, and a rugged nylon outer shell for superior strength and longevity. Choosing a high-quality cable reduces the risk of damage and ensures your devices receive a stable and efficient charge.
7.Label Your Cables
If you have multiple USB cables, consider labeling them. This can help you avoid frequently plugging in the wrong cable and reduce wear and tear on the connectors.
When should you consider replacing a USB cable instead of repairing it?
When considering replacing a USB cable, keep the following factors in mind:
Frayed or exposed wires: Cables with frayed or exposed wires are unsafe and unreliable.
Intermittent connection: An inconsistent connection may indicate internal damage.
Overheating: Overheating in the cable may indicate a short circuit or poor-quality materials.
Outdated cables: Old cables may not support the latest device standards.
Heavy wear: Frequent use can quickly wear out a cable, affecting performance.
Cost: A new cable is often more economical and safer than repairing a damaged one.
Replacing a USB cable ensures reliable connections, safe charging, and optimized device performance. Replacing a cable is easy and affordable, without the risk of using a damaged cable.
Conclusion
In summary, learning how to repair a USB cable is a useful skill that will benefit you greatly. With a few simple tips and tricks, you can keep your cables in good shape. Remember, while regular maintenance is important, sometimes replacing a worn cable is the best option. Keep your tech up to date and your devices running smoothly!

